Your here: Home / Network / Hardware Specific / Asus / RT-N66U
 |
This article is a stub. Please help InfoDepot Wiki by expanding it, adding pictures, and improving existing text.
|
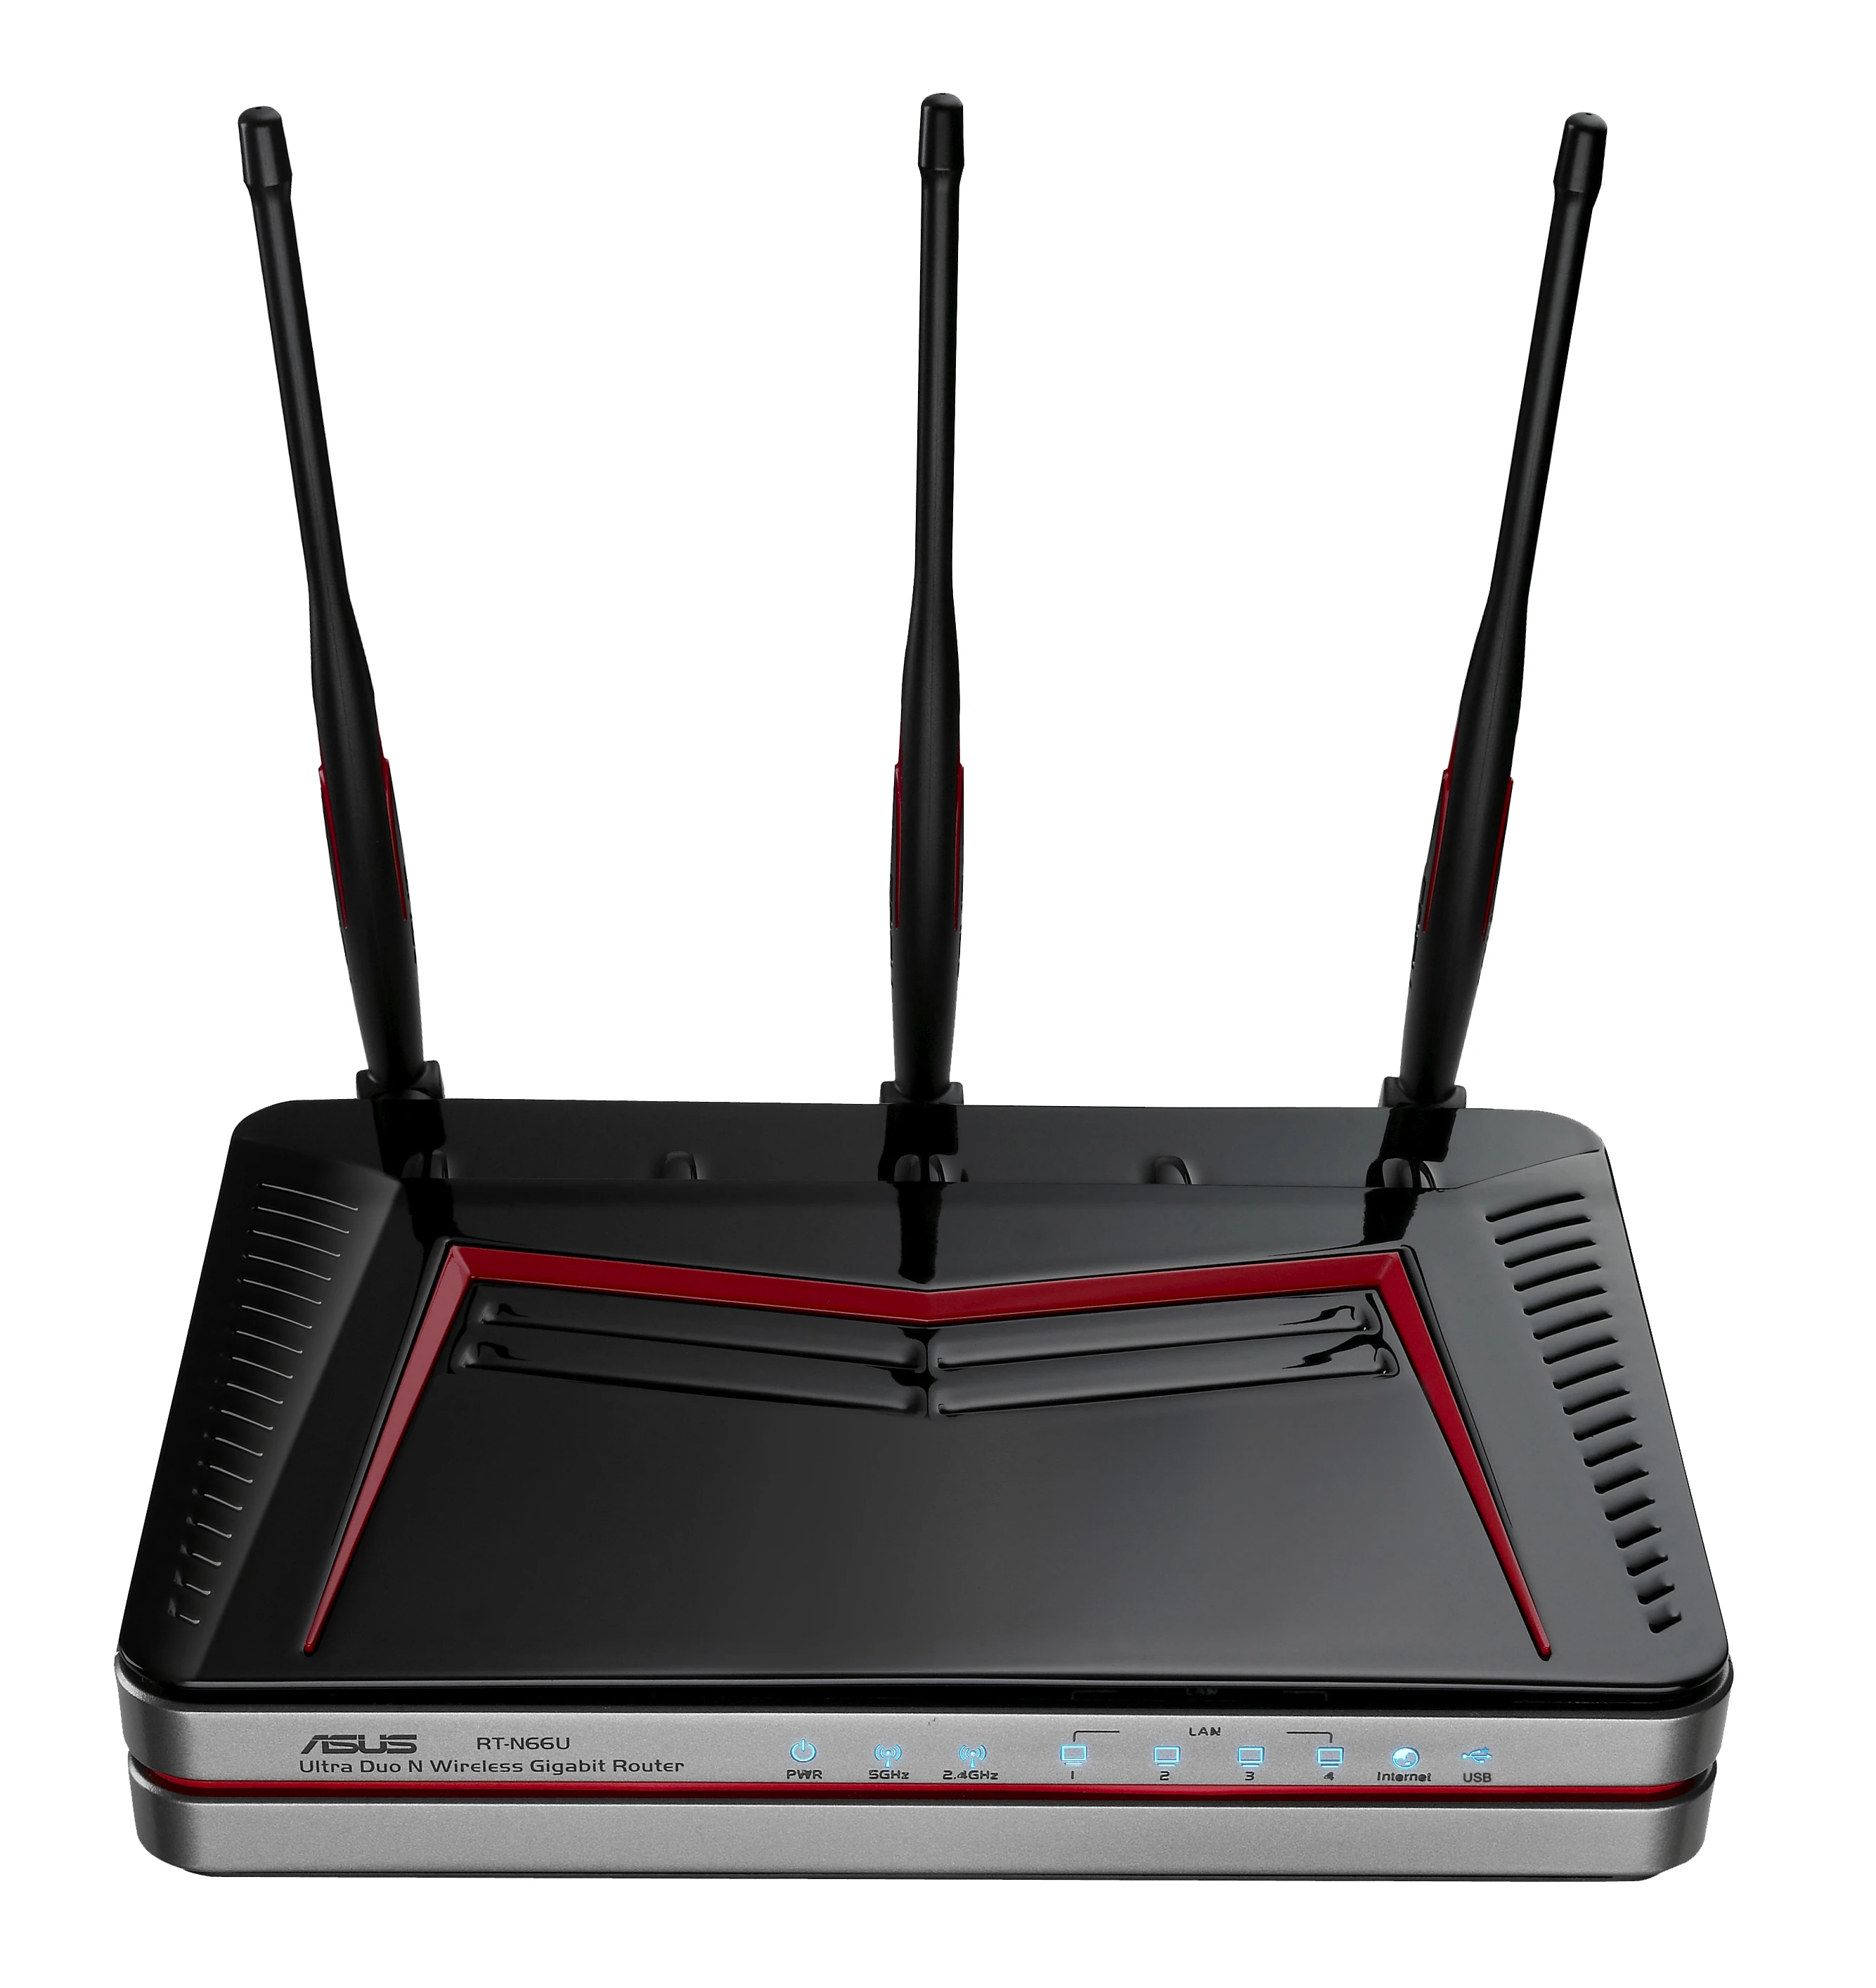
| File:Asus_RT-N66U_a.jpg |
NOTE: The status of Device support is unknown.
Specs
 This section is in need of cleanup!
Platform
Serial Num. = ?
FCC ID = ?
CPU Type = Broadcom BCM4706
MIPS Rev = ?
CPU Speed = 600Mhz
Bus = ?
Flash Type = ?
Flash Chip = ?
Flash Size = 32MB
Max Firmware Size = ?
RAM Size = 256MB
RAM Chip = ?
nvram Size = ?
Switch = Broadcom BCM4706 (SoC)
Port-based vlan = ?
802.1q vlan = ?
Ethernet Port Count = 1-10/100/1000-WAN 4-10/100/1000-LAN
Wired Standard = IEEE 802.3/3u/3ab
boot_wait = ?
bootloader = ?
Flash Card Socket/Type = SD Socket
SD/MMC Mod Support = Yes
MiniPCI slots = No
PoE = No
Power = ?
Color of LEDs = ?
Size = ?
USB = Yes x2
Serial Port = ?
JTAG Port = ?
Supported by TJTAG/Version = ?
Special Features = ?
Radio
Wireless Radio = Broadcom BCM4706 (SoC)
WLAN DSP processor = ?
Antenna Connector Type = ?
Wireless Standard = IEEE 802.11b/g/n
WiFi Operating Frequency = 2.4GHz
 802.11n = up to 450Mbps
 802.11g = 6, 9, 12, 18, 24, 36, 48, 54Mbps
 802.11b = 1, 2, 5.5, 11Mbps
Radio cor_rev = ?
Radio Capabilities = ?
Radio
Wireless Radio = Broadcom BCM4331
WLAN DSP processor = ?
Antenna Connector Type = ?
Wireless Standard = IEEE 802.11a/n
WiFi Operating Frequency = 5GHz
 802.11n = up to 450Mbps
 802.11a = 6, 9, 12, 18, 24, 36, 48, 54Mbps
Radio cor_rev = ?
Radio Capabilities = ?
Links of Interest
Flashing
This section is in need of cleanup!
Upgrading
 This section is in need of cleanup!
Reverting
This section is in need of cleanup!
JTAG/Serial Info
JTAG
JTAG Pinouts
This section is in need of cleanup!
JTAG Recovery
This section is in need JTAG Recovery Instructions!
Serial
Serial Pinouts
This section is in need of cleanup!
Hyper terminal Setup in Windows XP
In Windows XP, Click Start Button - All Programs - Accessories -
   Communication - HyperTerminal
Enter a name for the connection, Click ok
Choose com port you adapter is plugged into, Click ok
Set:
 Bits per second = 115200
 Data Bits = 8
 Parity = none
 Stop bits = 1
 Flow control = none
Click ok
Click File - Save As, and select a place to save it to so you
             don't have to enter the settings again.
Putty Setup in Windows XP
After installing putty, run it
 Serial line = The COM port your using for serial (ie. COM3)
 Speed = 115200
Click on Serial under Connection
 Serial line to connect to = same as above (Serial line)
 Speed (baud) = 115200
 Data bits = 8
 Stop bits = 1
 Parity = None
 Flow control = None
Click Session
 Enter a name for your connection under saved sessions
Click Save
Click Open
Serial Recovery
This section is in need of Serial Recovery Instructions!
USB Info
This section is in need of cleanup!
vlan Info
This section is in need of cleanup!
Pictures
FCC Pictures
This section is in need of cleanup!
Notes
Hardware Modz