Your here: Home / Network / Hardware Specific / Netgear / WNR3500 v2.0
 |
This article is a stub. Please help InfoDepot Wiki by expanding it, adding pictures, and improving existing text.
|
|
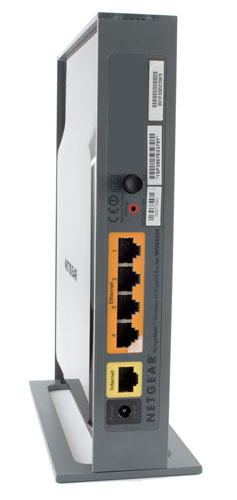
File:Netgear_WNR3500a.jpg RangeMax™Wireless-N Gigabit Router |
NOTE: Requires K2.6, Do not flash anything else.
NOTE: During configuration or flashing a device, the only that should be hooked to the device is the computer and power.
Specs[]
Platform
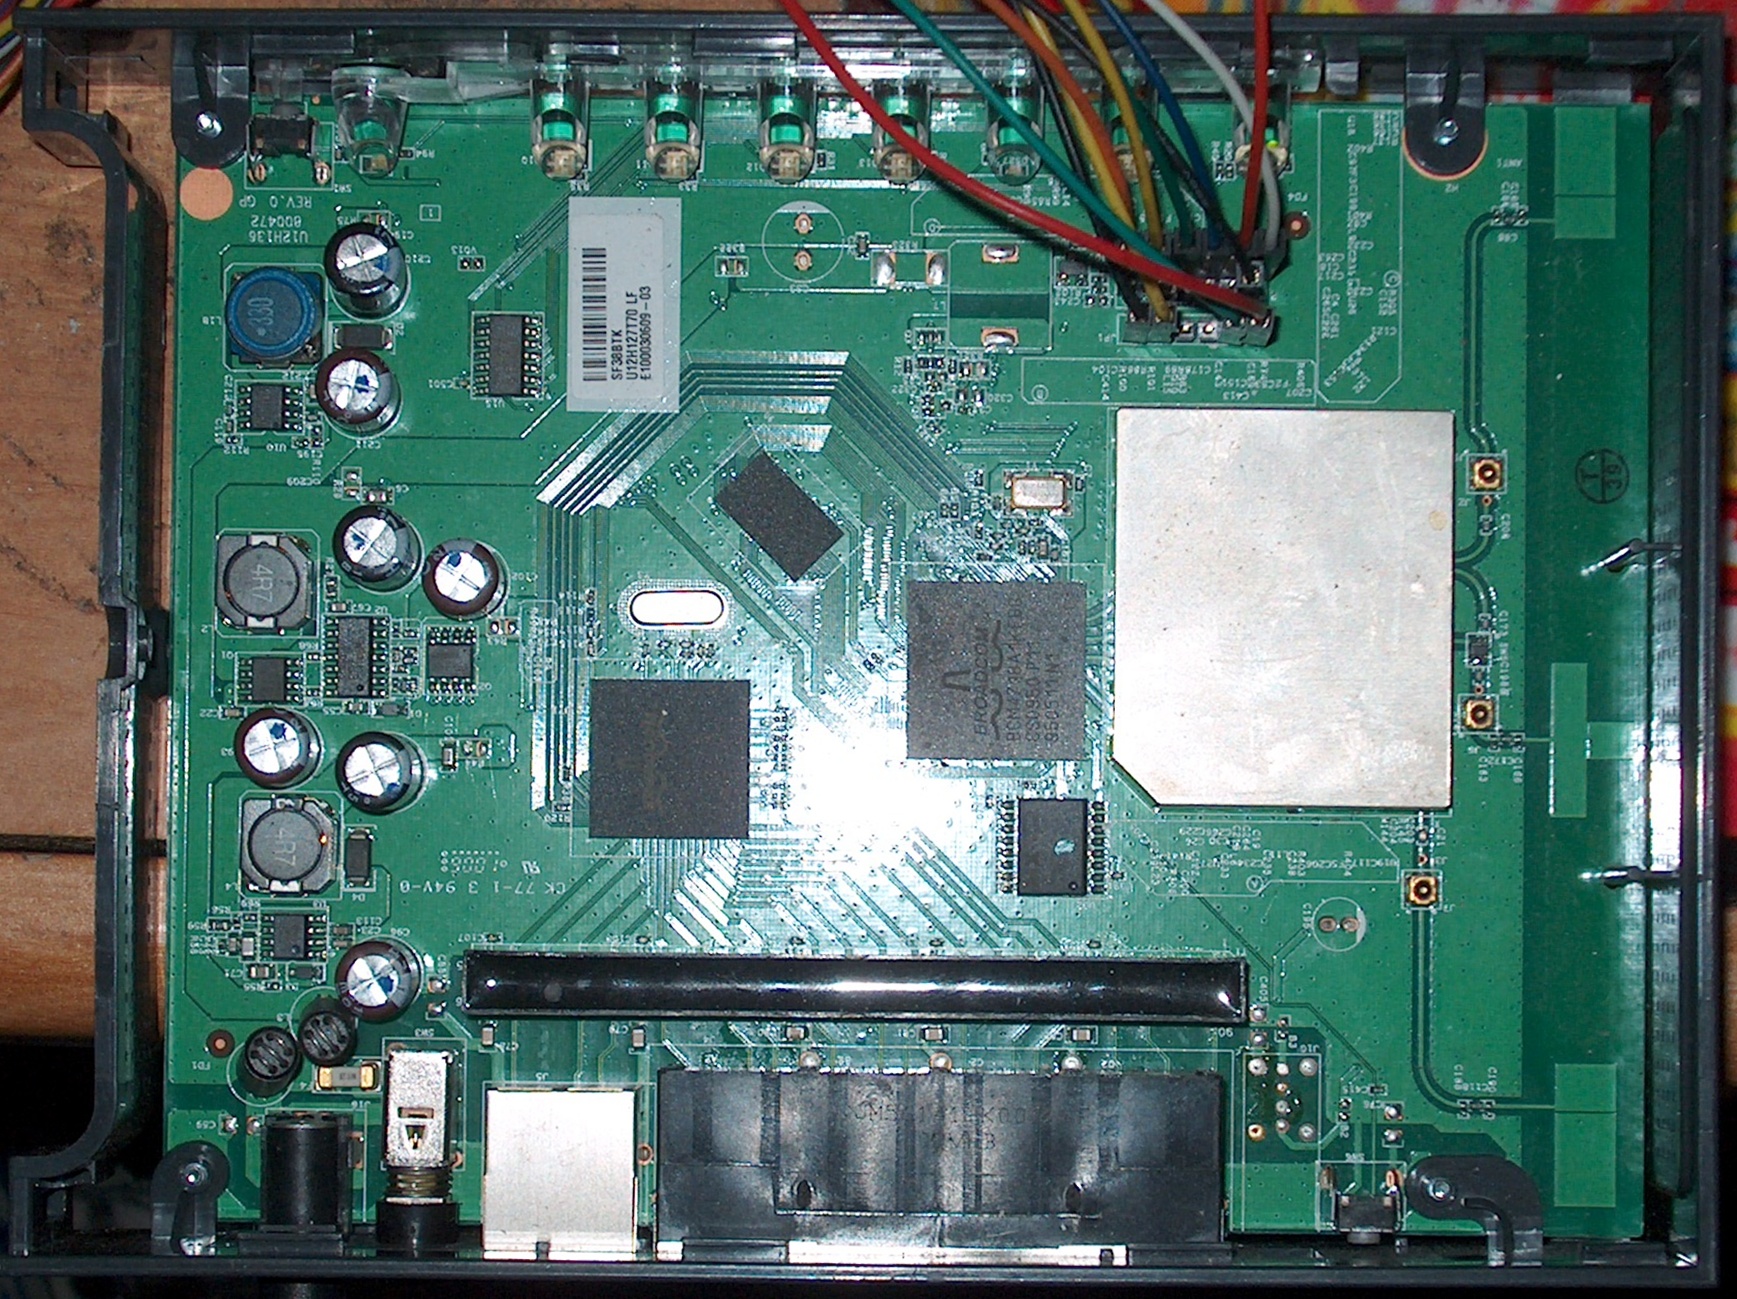
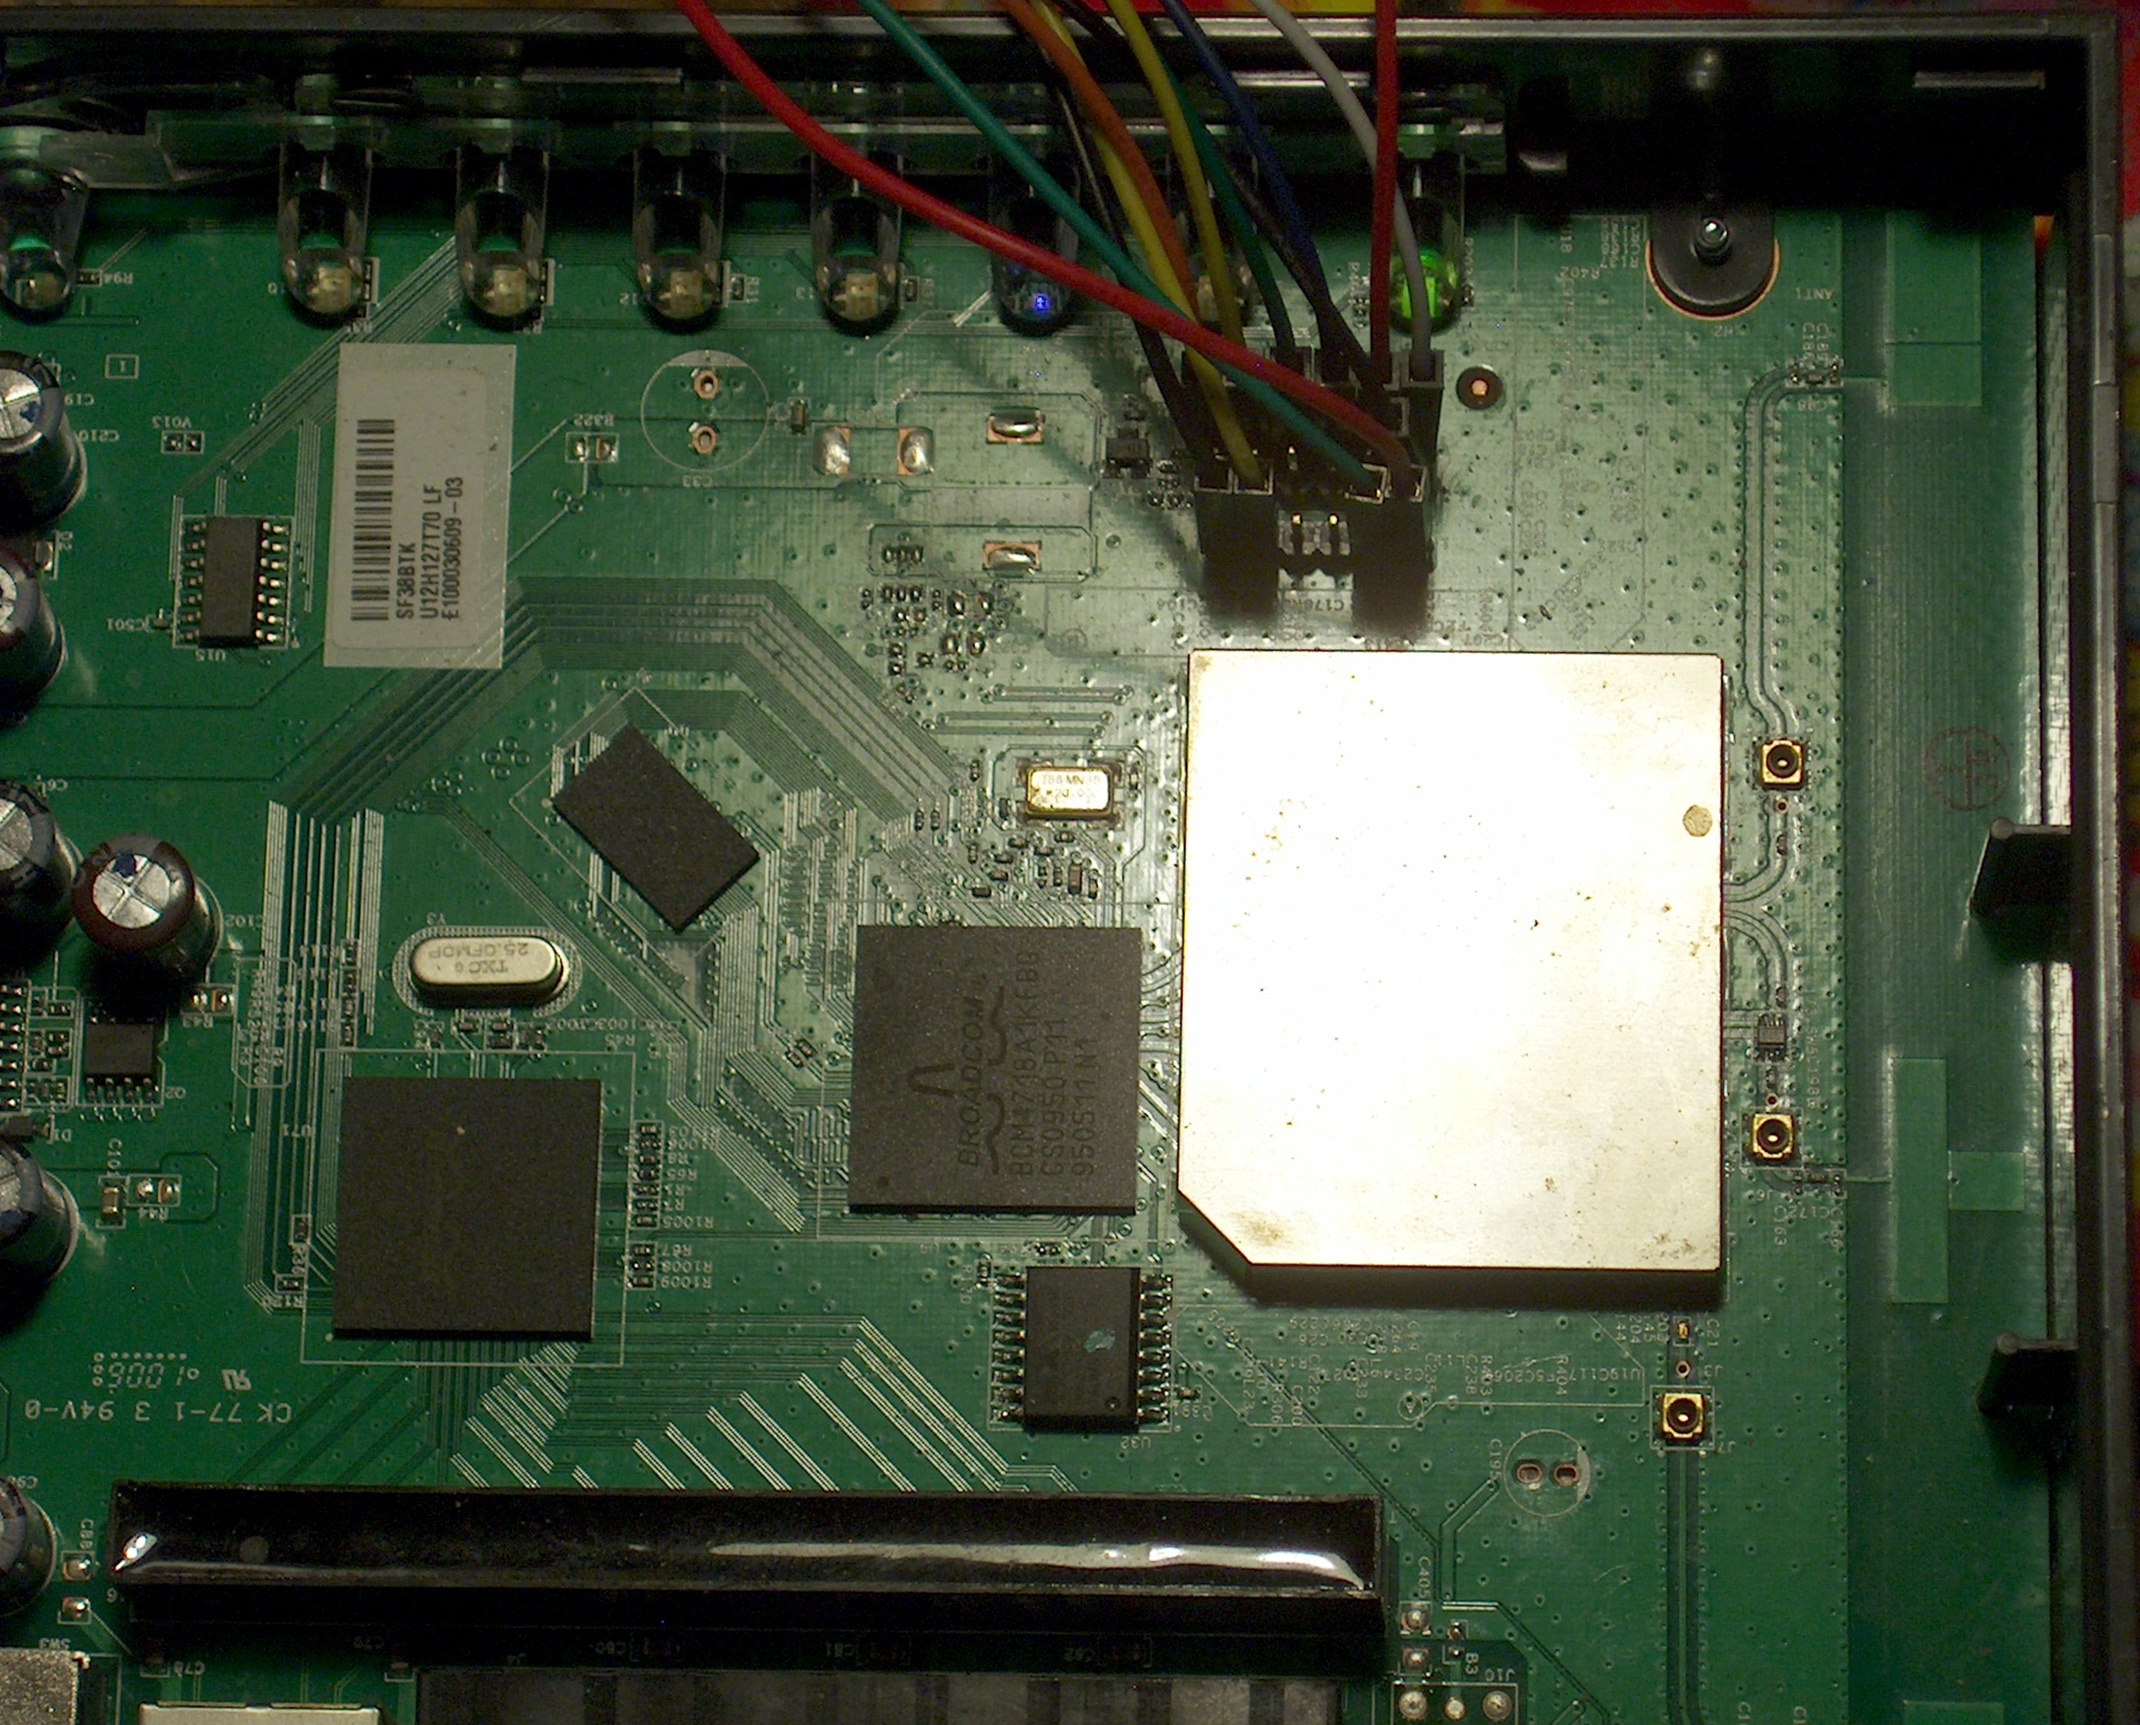
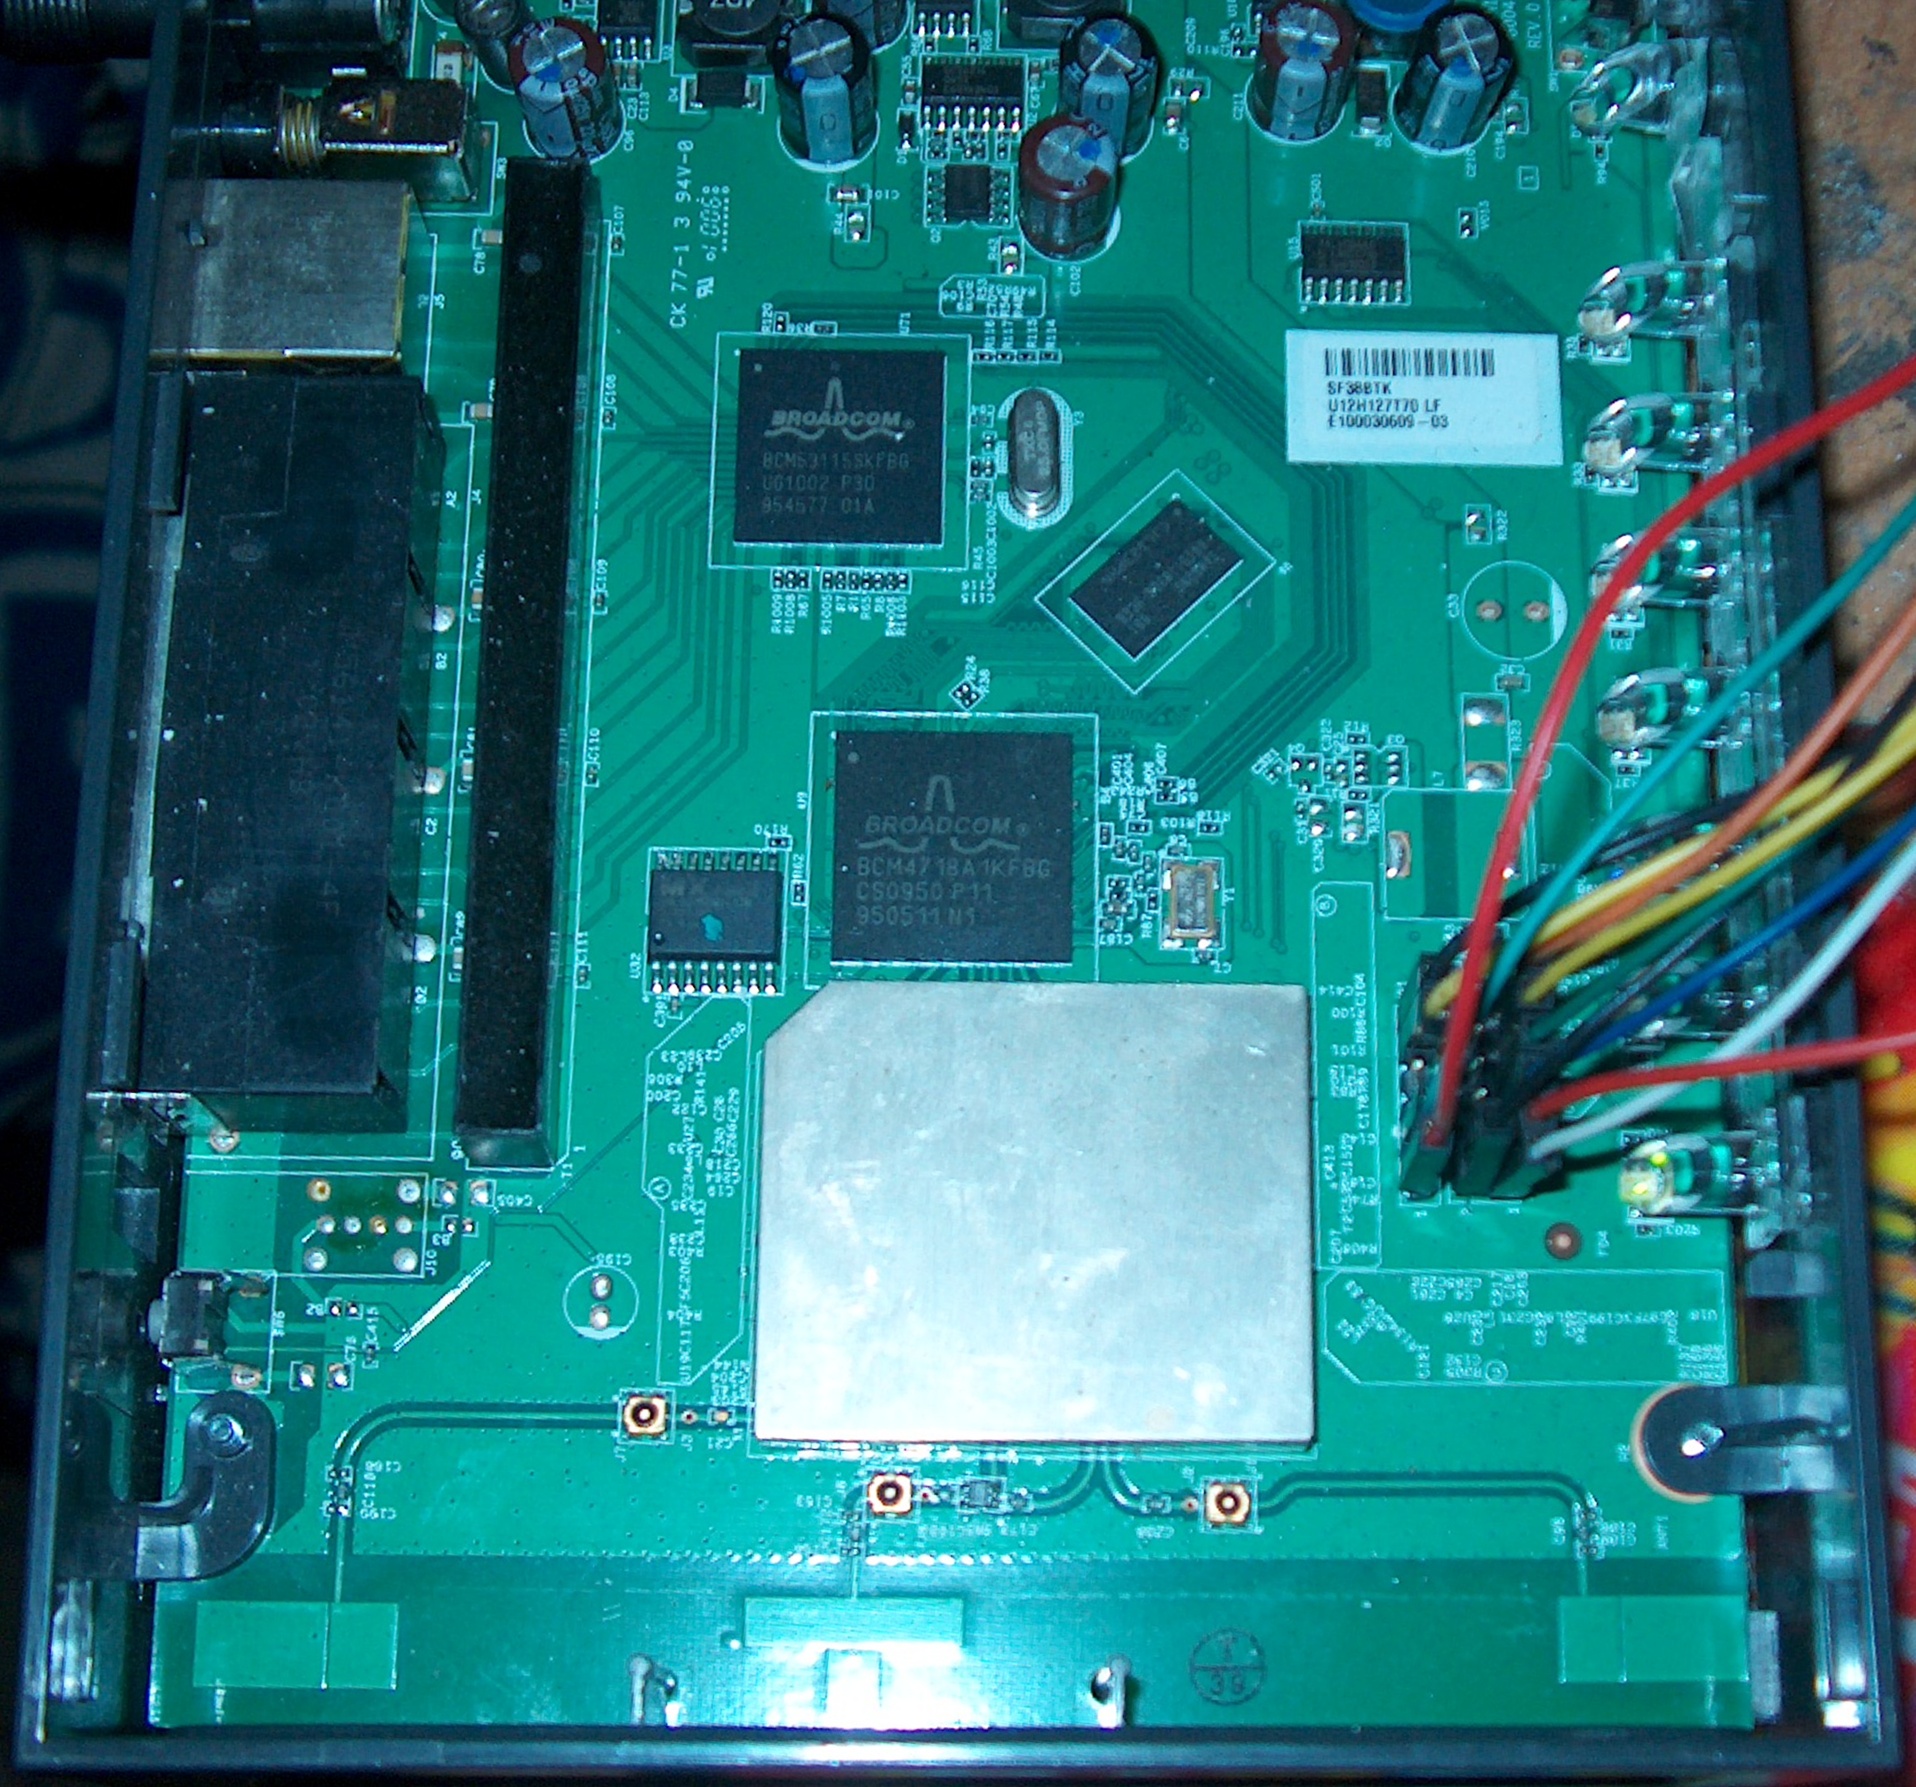
Serial Num. = 25V20
FCC ID = PY308400093
Industry Canada ID = 4054A-08400093
CPU Type = Broadcom BCM4718A1KFBG CS0950 P11 950511 N1 (BCM4718A1 SoC)
MIPS Rev = R2
CPU Speed = 480MHz
Bus = 8 bit
Flash Type = Serial
Flash Chip = MX X100136 25L3205DMI-126 SC803100
Flash Size = 4MB
Max Firmware Size = 3735552 bytes
RAM Size = 32MB
RAM Chip = Samsung 001 K4T51163QG-HCE6 CJL123PXN
nvram Size = 32k
Switch = Broadcom BCM53115SKFBG UG1002 P30 954577 01A
Port-based vlan = Yes
802.1q vlan = ?
Ethernet Port Count = 1-10/100/1000-WAN 4-10/100/1000-LAN
Wired Standard = IEEE 802.3/3u/3ab
boot_wait = off
bootloader = 128kCFE
Flash Card Socket/Type = No
SD/MMC Mod Support = No
MiniPCI slots = No
PoE = No
Power = 12V/1A
Color of LEDs = Yellow, Green, Blue
Size = 175 x 130 x 35 mm (6.89 x 5.12 x 1.38 in)
USB = No/There is a spot for a port to be soldered in
Serial Port = Yes
JTAG Port = Yes
Supported by TJTAG/Version = Yes/3.02-final
Supported by dd-wrt as of = v24 sp2 - build 12966 - 20090923
dd-wrt K2.4 Support = No
dd-wrt K2.6 Support = Yes
Special Features = ?
Radio (wl0)
Wireless Radio = Broadcom (BCM4718A1 SoC)
Antenna Connector Type = 2x2, Internal Antenna
Wireless Standard = IEEE 802.11b/g/n
WiFi Operating Frequency = 2.4GHz
 802.11n Draft 2.0 = up to 300Mbps
 802.11g = 6, 9, 12, 18, 24, 36, 48, 54Mbps
 802.11b = 1, 2, 5.5, 11Mbps
Radio cor_rev = 17
Radio Capabilities = ap sta wet led wme pio 802.11d 802.11h rm cqa mbss16
                     afterburner ampdu amsdurx amsdutx acktiming
                     rxchain_pwrsave radio_pwrsave bcm_dcs
Links of Interest[]
Flashing[]
DD-WRT[]
- Hard Reset/30-30-30
- Configure PC for a static ip of 192.168.1.10
- Make sure nothing else but power and PC is hooked to router
- Load dd-wrt.v24-14929_NEWD-2_K2.6_mini-WNR3500v2.chk
- Wait 5 Minutes
- Browse to 192.168.1.1, make sure you get the change password page
- Hard Reset/30-30-30
- Browse to 192.168.1.1, change name and password, configure.
Upgrading[]
DD-WRT[]
If dd-wrt is already on the router follow these instructions. If stock firmware is on the router follow the flashing instructions.
- Check for recommended builds here first.
- Set your computer to a static IP of 192.168.1.7. (or to whatever subnet the router is on) Disable all firewalls and security. Disable wireless on your computer and only have the router connected to the flashing computer by the ethernet cable between the two.
- Hard reset or 30/30/30 (If the router supports it, if not, reset to defults in the GUI) prior to flashing. Wait. Check for password page on re-login and change password.
- Flash firmware. You can use the webgui except if you have a belkin router. (For belkin use tftp.exe to flash)
- Wait...at least three minutes. Lights should return to normal. See important2, below. Failing to wait is how most people brick their routers.
- Do a power cycle of the router. (Unplug the cord, count to 30 and plug it back in.)
- Wait for the lights to return to normal usually about 2 minutes.
- Hard reset or 30/30/30 again (If the router supports it, if not, reset to defults in the GUI). Wait. Check for the password page and re-login to change the password. Then you can reconfigure your settings manually.
- Once configured set your computer back to autoIP and autoDNS.
Important1: This Hard reset or 30/30/30 works fine for Asus router, but you do have to power cycle after the reset.
Important2: After you flash the firmware, and before you do the hard reset, the router will be building some nvram settings. YOU MUST WAIT FOR THIS TO FINISH PRIOR TO DOING ANYTHING WITH THE ROUTER INCLUDING A HARD RESET. Usually, you can tell when this process is completed by the WAN light coming on, but it does take several minutes. Go have a beer. There are starting to be more and more people who BRICK their routers by not waiting until the nvram is rebuilt, PRIOR to doing a hard reset. YOU NEED TO WAIT!
Reverting[]
No GUI Revert yet, see serial recovery for reversion.
JTAG/Serial Info[]
NOTE: This section is assuming you know how to use XVI32, TJTAG and TFTP as well as have a serial-TTL adapter and/or a JTAG adapter.
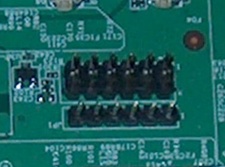
JTAG[]
JTAG Pinouts[]
J14
nTRST   1o o2	GND
  TDI   3o o4	GND
  TDO   5o o6	GND
  TMS   7o o8	GND
  TCK   9o o10	GND
nSRST  11o o12  N/C
Using Universal JTAG Adapter
white    1o o2	 black
  red    3o o4	 GND
 blue    5o o6	 GND
green    7o o8	 GND
yelow    9o o10  GND
orange  11o o12  N/C
JTAG Recovery[]
Confirmed Working with North American Unit and Firmware
- Power Cycle,
tjtag3 -backup:cfe128 /silent /otheroptions - Power Cycle,
tjtag3 -backup:nvram /silent /otheroptions - Power Cycle,
tjtag3 -backup:wholeflash /silent /otheroptions - Power Cycle,
tjtag3 -backup:custom /window:0x1fc00000 /start:0x1c3e0000 /length:0x10000 /silent /otheroptions - The last step will backup the board data to "custom.bin, Using a Hex editer, check to make sure all the data looks similar to board_data.bin or post it to your thread in the dd-wrt forums and somebody can check it for you.
- If it is similar, change "U12H127T70_NETGEAR" to "U12H127T00_NETGEAR". The mac address starts at Hex address 40 in the middle pane, make sure it's correct. The Serial number starts at Dec address 76 in the right pane, make sure it's correct. The Security Pin starts at Dec address 108 in the right pane, make sure it's correct. The actual board data starts at Dec address 256 in the right pane, make sure it matches board_data.bin. If it looks all messed up then start fresh with board_data.bin and make all the changes ti it. When done "save as" "custom.bin" without the quotes. Makes sure it's in the same folder as TJTAG.
- Now do the same with the cfe128, mac sure mac address match(although not as important with the cfe). Check to see if is similar to cfe128.bin. If not or it's just totally messed up use the reference cfe128.bin. Just edit it to match the information from your router.
- Power Cycle,
tjtag3 -flash:custom /window:0x1fc00000 /start:0x1ffe0000 /length:0x10000 /swap_endian /byte_mode /silent /otheroptions - Power Cycle,
tjtag3 -flash:cfe128 /swap_endian /byte_mode /silent /otheroptions - Have TFTP.exe ready in WindowsXP, with WNR3500v2-V1.2.2.28_25.0.85NA.chk from that zip file. Configure your computer with a static ip address of 192.168.1.10. Connect the router to the pc via network cable. Power on the router when it signals a connection click upgrade.
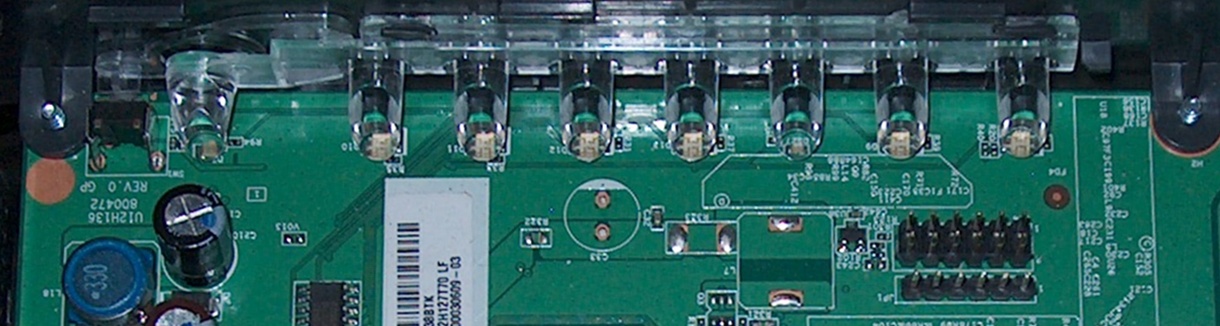
Serial[]
Serial Pinouts[]
JP1
VCC 1 o
 RX 2 o
N/C 3 o
N/C 4 o
 TX 5 o
GND 6 o
Hyper terminal Setup in Windows XP[]
In Windows XP, Click Start Button - All Programs - Accessories -
   Communication - HyperTerminal
Enter a name for the connection, Click ok
Choose com port you adapter is plugged into, Click ok
Set:
 Bits per second = 115200
 Data Bits = 8
 Parity = none
 Stop bits = 1
 Flow control = none
Click ok
Click File - Save As, and select a place to save it to so you
             don't have to enter the settings again.
Putty Setup in Windows XP[]
After installing putty, run it
 Serial line = The COM port your using for serial (ie. COM3)
 Speed = 115200
Click on Serial under Connection
 Serial line to connect to = same as above (Serial line)
 Speed (baud) = 115200
 Data bits = 8
 Stop bits = 1
 Parity = None
 Flow control = None
Click Session
 Enter a name for your connection under saved sessions
Click Save
Click Open
Serial Recovery[]
- Once you hooked up and getting data in putting/Hyper terminal and have a static ip on you pc of 192.168.1.10, Power cycle the router. Imediatly start rapid firing CTRL+C until it breaks into the CFE.
- Get TFTP ready with the OEM firmware.
- Type
tftpd, then click upgrade on the TFTP window. - Give it about 5 min to bootup and settle, then goto 192.168.1.1
vlan Info[]
- VLAN Support Testing Needed
Pictures[]
FCC Pictures[]
See Netgear WNR3500L FCC Pictures
Notes[]
Flash partitions[]
dev:  size     erasesize name
mtd0: 00040000 00010000 "pmon"
mtd1: 00750000 00010000 "linux"
mtd2: 005dc000 00010000 "rootfs"
mtd3: 00080000 00010000 "jffs2"
mtd4: 00010000 00010000 "nvram"
mtd5: 00010000 00010000 "board_data"
Hardware Modification[]