Your here: Home / Network / Hardware Specific / Netgear / WNR834B v1.0
 |
This article is a stub. Please help InfoDepot Wiki by expanding it, adding pictures, and improving existing text.
|
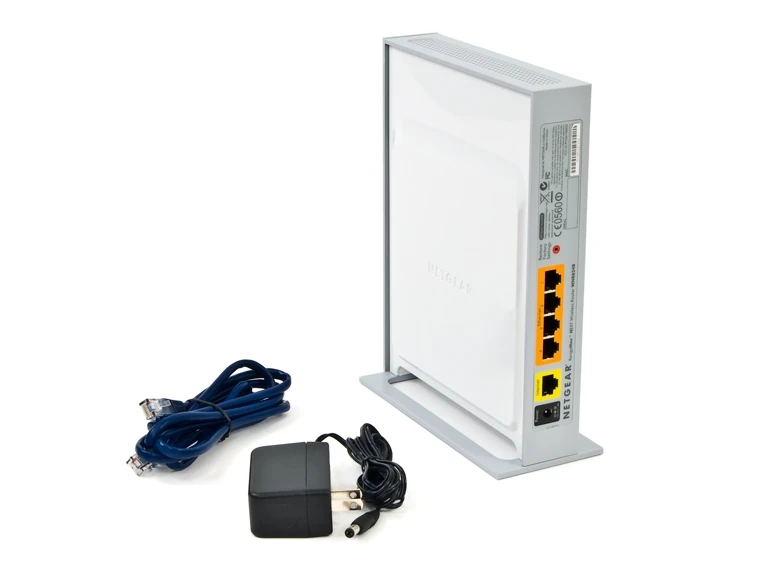
| File:Netgear_WNR834Ba.jpg |
NOTE: During configuration or flashing a device, the only that should be hooked to the device is the computer and power.
Specs[]
 This section is in need of cleanup!
Platform
Serial Num. = ?
FCC ID = PY306100032
CPU Type = Broadcom BCM4704KPBG CT0606 P12 769206 M5 (BCM4704)
MIPS Rev = ?
CPU Speed = 264MHz
Bus = ?
Flash Type = Parallel
Flash Chip = ?
Flash Size = 4MB
Max Firmware Size = ?
RAM Size = 16MB
RAM Chip = ?
nvram Size = ?
Switch = Broadcom BCM5325
Port-based vlan = ?
802.1q vlan = ?
Ethernet Port Count = ?
Wired Standard = IEEE 802.3?
boot_wait = ?
bootloader = ?
Flash Card Socket/Type = No
SD/MMC Mod Support = No
MiniPCI slots = Yes
PoE = No
Power = 12V/1.0A
Color of LEDs = ?
Size = ?
USB = No
Serial Port = Yes
JTAG Port = No
Supported by TJTAG/Version = ?
Supported by dd-wrt as of = v24 Beta (02/22/07) - build 5966
dd-wrt K2.4 Support = Yes
dd-wrt K2.6 Support = No
Special Features = ?
Radio
Wireless Radio = Broadcom BCM4321 mini-PCI
Antenna Connector Type = Internal
Wireless Standard = IEEE 802.11b/g/n
WiFi Operating Frequency = ?
 802.11n = up to 300Mbps
 802.11g = 6, 9, 12, 18, 24, 36, 48, 54Mbps
 802.11b = 1, 2, 5.5, 11Mbps
Radio cor_rev = ?
Radio Capabilities = ?
Links of Interest[]
Flashing[]
NOTE: This model (the V1) does NOT have a JTAG header, only serial, so caution must be exercised when working on this unit.
Not much is said about this device other than flash it with a modified header. All information I found was that there was not modified header build for this unit except that which was created by SveaSoft with theire Talisman 1.3.1 package.
So... after much investigation it was found that the firmware needs to be updated in the form of an .img file. Original Netgear firmware was a .img file and would only accept TFTP input or web GUI input of a .img file.
NOTE: - further investigation proved that the .img file is actually a .zip file. You can rename the .img to .zip (in my case with 512 bytes offset [1]) and extract the contained WNR834B.bin file. Using a hex editor this .bin file contains both the CFE and FW for the unit....so by removing the first byte through the last byte before the HDR0 in the file will leave just the FW of the .bin file... this is a .bin file and CAN be flashed directly to the unit using TFTP.
[1]: dd if=wnr834bv1_1_0_4_2_ww.img of=wnr834bv1_1_0_4_2_ww.zip seek=512 bs=1
Also found was that any .bin file can be flashed using TFTP to the unit unless the nvram has been erased using the CFE's "nvram erase" command then it will need flashing with the original .img file again. Once the Netgear FW .img is flashed navigate to the upgrade FW tab and use the 11580_mini build of .img provided below.
I found that Simri created a .img build for this unit and it works very well. The first loading of DD-WRT firmware must be an .img file and can be loaded from the Netgear firmware update tab.
Hard reset
Load firmware (192.168.1.1 with admin/password for un/pw)
wait 5 minutes
power cycle router
hard reset again
configure.
Subsequent DD-WRT firmware updates can be done from the DD-WRT firmware update page and you can load any .bin file except for the mega build. (I suggest you don't downgrade lower than the 11580 build that you used for the initial flash)
Here is the original Netgear firmware as well for those that want to revert back.
Additional information about this unit can be found here
Correcting Incorrect MAC address[]
USE THESE INSTRUCTIONS AT YOUR OWN RISK. DD-WRT OR INFODEPOT WILL NOT BE RESPONSIBLE IF YOU BRICK THE ROUTER
NOTE: - if you have DD-WRT on the unit and have the wrong MAC address. You can use another method of obtaining the correct MAC address permanently.
Extract the cfe.bin by using the HTTP backup method (save this file to your disk drive) Edit the cfe.bin file using a hex editor...locate and modify both the et0macaddr and et1macaddr to be the MAC address with that which is found on the sticker of your unit (yes...both et0 and et1 will be that address)....Make sure you do not ADD any bytes to the file (only overwrite current bytes)....if you do add to the file...you will have an unrecoverable brick....guaranteed...remember you only have serial communication and the CFE must work for serial to work.
Then using WinSCP (SSH must be enabled in DD-WRT) copy the newly edited CFE to the unit's /tmp directory. Now you can use a telnet session to mtd the new CFE over the old one....remember...you must have the exact same CFE with only the MAC address's changed for this to work...if you don't you will have an unrecoverable brick...guaranteed.
the commands for overwriting the CFE is
mtd unlock cfe
mtd write /tmp/cfe.bin cfe
When it finishes reboot the router. The correct MAC addresses should now show up on the Status tab.
Thanks to Sparky and Simri for sharing their knowledge of these Netgear units on the forum. redhawk
Upgrading[]
This section is in need of cleanup!
Reverting[]
 This section is in need of cleanup!
JTAG/Serial Info[]
JTAG[]
JTAG Pinouts[]
This section is in need of cleanup!
JTAG Recovery[]
This section is in need JTAG Recovery Instructions!
Serial[]
Serial Pinouts[]
This section is in need of cleanup!
Hyper terminal Setup in Windows XP[]
In Windows XP, Click Start Button - All Programs - Accessories -
   Communication - HyperTerminal
Enter a name for the connection, Click ok
Choose com port you adapter is plugged into, Click ok
Set:
 Bits per second = 115200
 Data Bits = 8
 Parity = none
 Stop bits = 1
 Flow control = none
Click ok
Click File - Save As, and select a place to save it to so you
             don't have to enter the settings again.
Putty Setup in Windows XP[]
After installing putty, run it
 Serial line = The COM port your using for serial (ie. COM3)
 Speed = 115200
Click on Serial under Connection
 Serial line to connect to = same as above (Serial line)
 Speed (baud) = 115200
 Data bits = 8
 Stop bits = 1
 Parity = None
 Flow control = None
Click Session
 Enter a name for your connection under saved sessions
Click Save
Click Open
Serial Recovery[]
This section is in need of Serial Recovery Instructions!
vlan Info[]
This section is in need of cleanup!
Pictures[]
FCC Pictures[]


Notes[]
Hardware Modification[]